How to Declutter Your Garden Shed in 5 Easy Steps
Imagine trying to locate a pair of pruning shears buried beneath a pile of mismatched containers or tripping over an old hose while searching for a bag of fertilizer. These scenarios might sound familiar, but the good news is that transforming your shed from chaotic to calm is easier than you think.
OUTDOOR ORGANIZATIONDIY PROJECTSDESIGN INSPIRATION

This post contains affiliate links. If you make a purchase through these links, we may earn a commission at no extra cost to you. This helps us continue to provide you with valuable content. Thank you for your support!
The content on this website was created with the help of AI.
The garden shed can be a sanctuary for tools, supplies, and projects—or it can turn into a cluttered chaos. Over time, it’s easy for this small but essential space to become a dumping ground for everything from rusty tools to forgotten pots. A cluttered shed doesn’t just look messy; it can make gardening and outdoor projects more stressful than enjoyable.
Imagine trying to locate a pair of pruning shears buried beneath a pile of mismatched containers or tripping over an old hose while searching for a bag of fertilizer. These scenarios might sound familiar, but the good news is that transforming your shed from chaotic to calm is easier than you think.
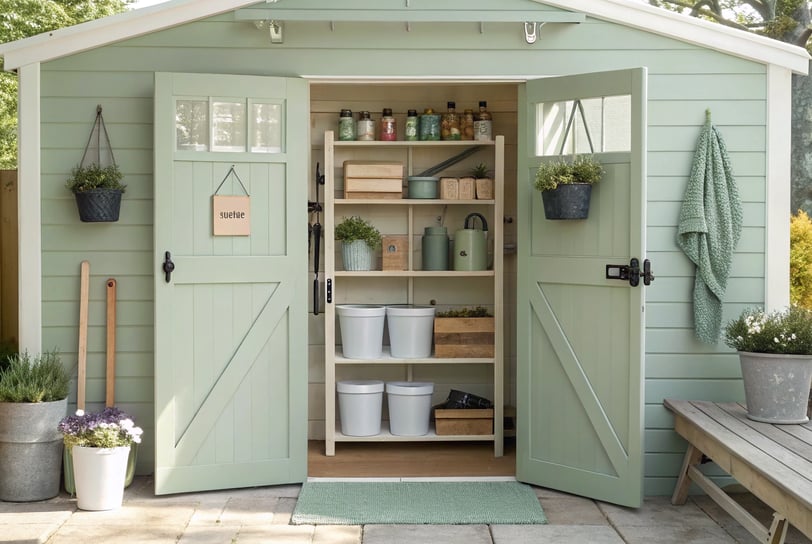
With a bit of focus and a simple plan, you can declutter your garden shed and turn it into a well-organized, functional space that serves as a true extension of your outdoor living area. In this guide, we’ll walk you through five easy steps to reclaim your shed, streamline your storage, and create a space where everything has its place.
How to Declutter Your Garden Shed in 5 Easy Steps
Now that everything is out in the open, it’s time to make decisions about what stays and what goes. This step is all about being honest with yourself and evaluating the value of each item. While it can be tempting to hold onto things "just in case," a clutter-free shed requires thoughtful decision-making.
Key Questions to Ask:
Have I Used This Recently? Items that haven’t been used in over a year are likely taking up valuable space. Consider whether they truly serve a purpose.
Is This Still Functional? Check tools and equipment for rust, damage, or wear. Broken items that are beyond repair should be discarded or replaced.
Does This Serve a Purpose? Be honest about items with sentimental value. If they don’t have a practical use and aren’t meaningful enough to display, it’s time to let them go.
Sorting Strategies:
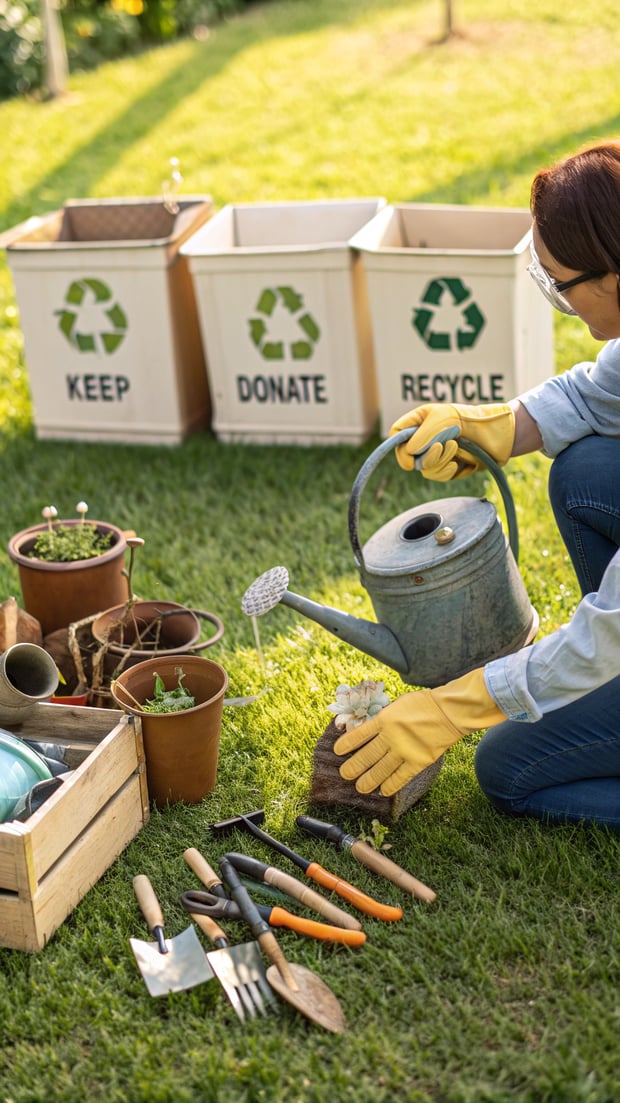
Keep: These are items you use regularly and are in good condition. Tools, functional supplies, and essential gardening equipment belong in this category.
Donate: Items in good condition but no longer useful to you can be donated to local gardening clubs, schools, or community groups.
Recycle: Broken items made of recyclable materials, such as plastic pots or scrap metal, can be sent to recycling programs.
Dispose: Safely discard hazardous materials like old fertilizers, pesticides, or paint by following local disposal guidelines.
Tips for Sentimental Items:
If you’re struggling to let go of something, consider taking a photo of the item before donating or discarding it. This way, you’ll preserve the memory without keeping unnecessary clutter.
Common Items to Declutter:
Old or duplicate tools
Rusty or broken equipment
Expired seeds or gardening products
Outdated or unused decorations
Excess plant pots or containers
Taking the time to sort and declutter will ensure that only the most useful and meaningful items make it back into your shed, setting the stage for a truly organized space.
Decluttering your shed is just the beginning. To keep it tidy and functional, establish a simple maintenance routine that ensures your hard work pays off in the long run.
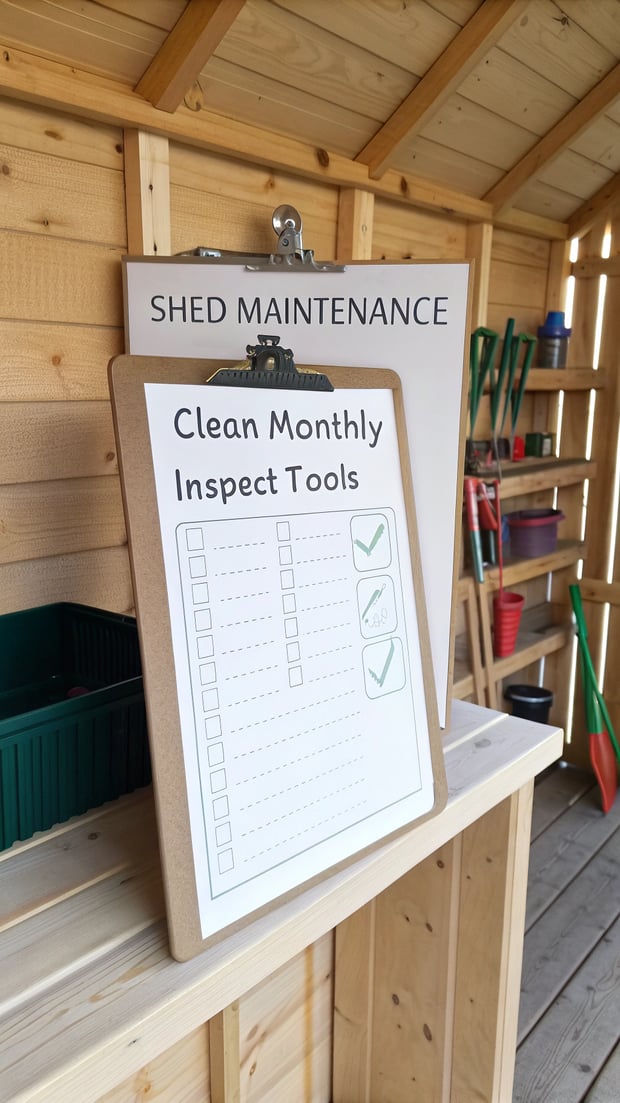
Monthly Checklist:
Return Tools to Their Designated Spots: Always put tools back where they belong after use to prevent clutter from building up.
Dispose of Broken or Worn-Out Items: Regularly inspect your tools and supplies for damage. Repair what can be salvaged and dispose of the rest.
Sweep and Check for Pests: Keeping the floor clean helps prevent buildup of dirt and debris. Check for signs of pests, such as nests or gnaw marks, and address any issues promptly.
Seasonal Tasks:
Rotate Seasonal Supplies: Move items like holiday decorations or winter-specific tools to more accessible locations during the appropriate seasons.
Inspect Tools and Equipment: Look for rust, wear, or damage on tools. Perform any necessary maintenance, such as sharpening blades or oiling hinges.
Restock Supplies: Take inventory of consumable items like potting soil, seeds, or plant food, and replenish as needed to ensure you’re always prepared.
Annual Deep Clean and Assessment:
Reassess Your Storage System: At least once a year, review how your shed is organized. Are there areas that have become cluttered again? Are there items that are no longer useful?
Declutter Again if Necessary: Use the same steps from this guide to do a quick annual refresh. It’s easier to maintain an already organized space than to start from scratch.
Check Structural Integrity: Inspect your shed for signs of wear, such as leaks, rotting wood, or rusted hinges. Address these issues to keep your shed functional and safe.
Pro Tip:
Create a habit of performing quick maintenance tasks after every major project. For instance, after a gardening session, wipe down and store tools immediately. Small efforts like these make a big difference over time.
By staying proactive and maintaining a routine, you’ll prevent clutter from creeping back in and keep your garden shed as organized as the day you finished decluttering.
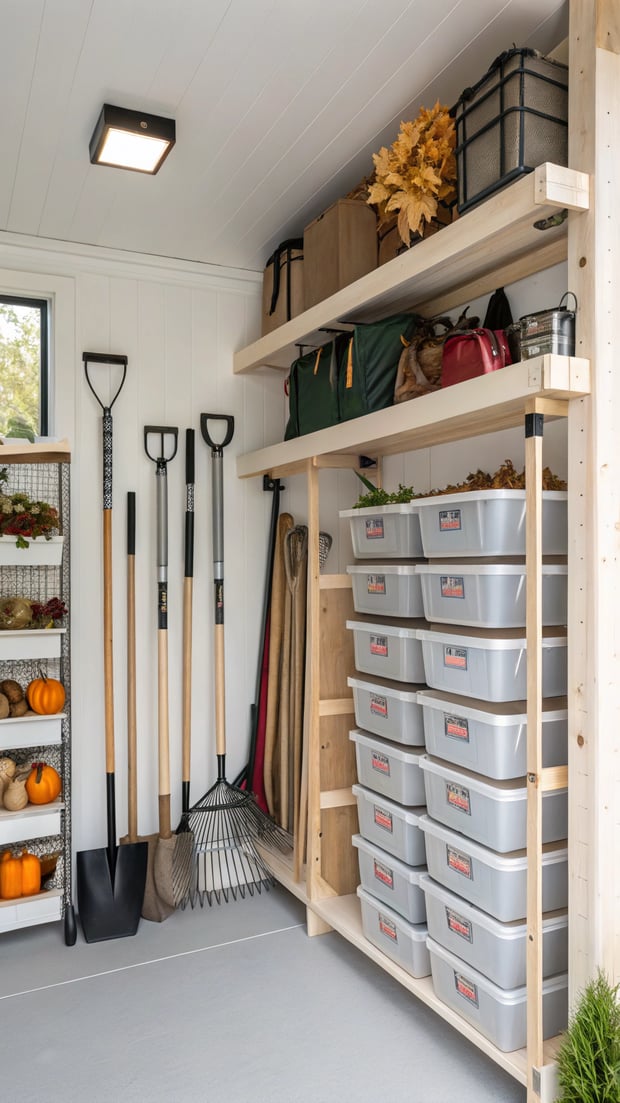
Before you put anything back in your shed, think about how you’ll organize it to maximize efficiency and accessibility. A thoughtful storage plan will help maintain the shed’s tidiness in the long run and ensure you can easily find what you need when you need it.
Designing Your Storage Layout:
Start by analyzing your available space. Consider the height of your walls, the depth of your shelves, and any existing fixtures. Decide on zones for specific categories to make your shed both functional and easy to navigate. A clear storage layout will prevent items from piling up in random corners.
Organization Ideas:
Install Shelving: Use vertical space for items like plant fertilizers, small tools, and lightweight supplies. Adjustable shelving can accommodate different-sized items over time.
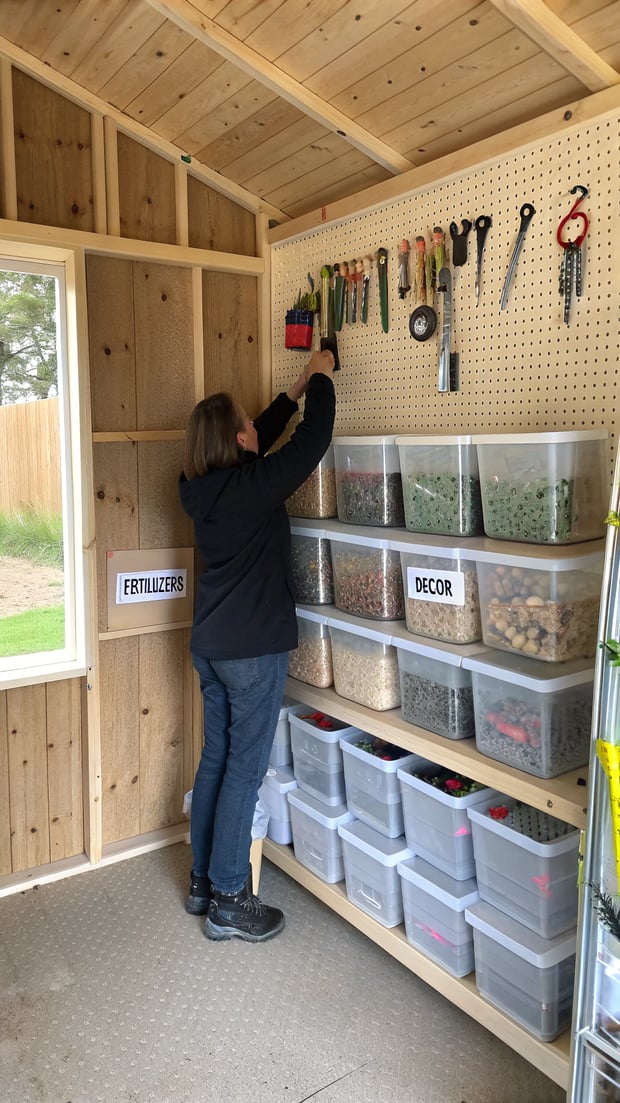
Use Clear Containers: Transparent bins make it easy to see what’s inside without rummaging. Opt for stackable containers to save floor space.
Hang Tools: Mount a pegboard or install hooks on the walls to hang frequently used tools like trowels, pruners, and rakes. This keeps them visible and accessible.
Use Magnetic Strips: Attach magnetic strips to store small metal tools such as shears and screwdrivers.
Label Everything: Clearly label bins, drawers, and shelves to keep things in their designated spots. Use waterproof labels to ensure they last.
Creating Functional Zones:
Divide your shed into zones to keep similar items together:
Gardening Supplies Zone: Store soil, pots, fertilizers, and gloves.
Tool Zone: Arrange rakes, shovels, and hand tools on hooks or in a corner caddy.
Outdoor Decor Zone: Keep string lights, cushions, and seasonal ornaments in sealed containers.
Plant Care Zone: Dedicate a shelf to plant food, pest control, and watering cans.
Seasonal Storage Zone: Place holiday or seasonal items in clearly labeled bins on higher shelves.
Maximizing Small Sheds:
If your shed is small, consider these space-saving solutions:
Overhead Storage: Install ceiling hooks for lightweight items like hoses or string lights.
Sliding Bins: Use bins on tracks that slide under shelves for hidden storage.
Door Racks: Attach racks to the back of the door for sprays, gloves, or small tools.
Pro Tip:
Think about accessibility. Place the items you use most frequently in easy-to-reach areas, while less-used items can go higher or further back. This simple consideration will save you countless headaches later.
With a solid storage plan in place, you’re ready to move on to returning your items in an organized, strategic way.
With your storage plan in place, it’s time to return your items to the shed. This step is where all your preparation comes together. Thoughtfully repacking your shed ensures that your hard work in decluttering and planning pays off in the form of a well-organized, functional space.
Tips for Repacking:
Put Frequently Used Items Front and Center: Everyday tools and supplies like trowels, pruners, and gloves should be easily accessible. Store them in places where you don’t have to move other items to reach them.
Store Seasonal Items Higher or Lower: Items like holiday decorations or equipment used only once or twice a year can be stored on higher shelves or in less accessible areas. Clearly labeled bins make retrieval easy when the time comes.
Group Similar Items Together: Keep items that are used for similar tasks in the same area. For example, place all plant care supplies—like fertilizers, watering cans, and pest control—on the same shelf.
Use Vertical Space: Hang large tools such as rakes, shovels, and hoes on hooks to free up floor space. Use pegboards to keep smaller tools organized and visible.
Create a Clear Workflow: Arrange your shed to match the flow of how you work. For instance, place potting supplies near the entrance if you frequently repot plants.
Maintaining Balance:
Avoid the temptation to overcrowd your shed. Leave some open space to allow for future additions or for seasonal shifts. Clear pathways ensure that you can move comfortably and safely within the shed.
Pro Tip:
Consider labeling shelves or zones with simple signs. These visual cues make it easier to maintain order and guide other family members to return items to their proper places.
As you put items back, take a moment to appreciate the progress you’ve made. By the end of this step, your shed should feel lighter, more functional, and ready to support all your gardening and outdoor projects.
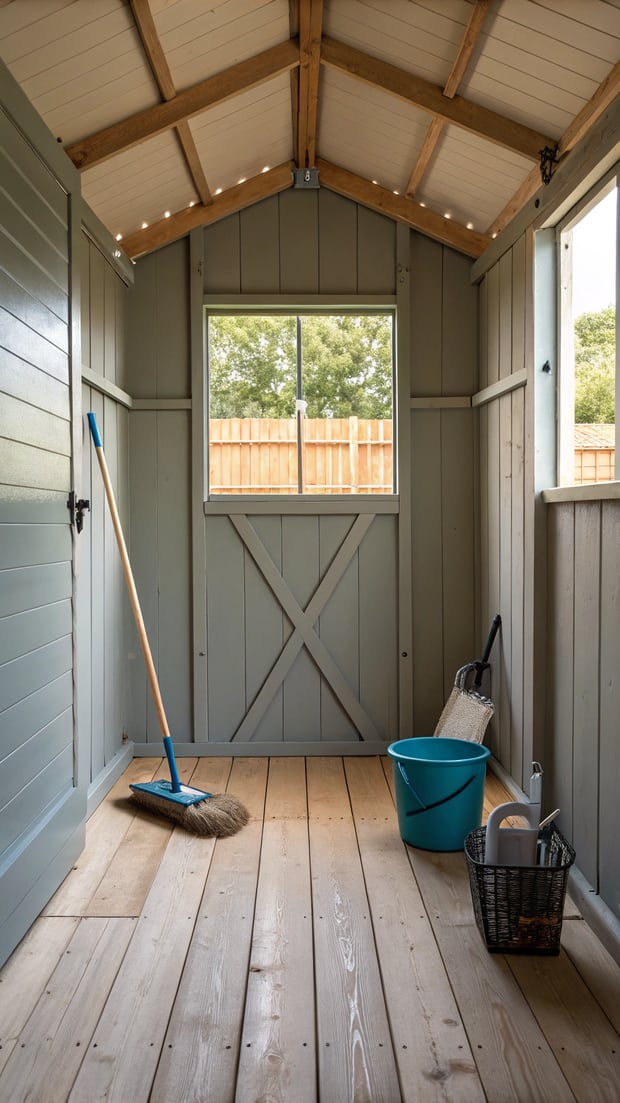

The first step to any successful decluttering project is starting with a clean slate. Removing everything from your shed allows you to see exactly what you have and evaluate its importance. This step might seem overwhelming, but breaking it down into manageable tasks can make all the difference.
Why This Step Is Crucial:
Emptying your shed gives you a fresh perspective. It’s hard to organize effectively when you’re working around piles of clutter. By starting with an empty space, you’ll be able to thoroughly clean the shed and identify any structural issues, such as leaks or pest infestations, that might need addressing.
Tips for Success:
Set Up Sorting Zones: Create areas for items you want to keep, donate, recycle, or discard. Use tarps or boxes to keep everything organized.
Work on a Clear Day: Choose a day with good weather so you can comfortably spread your items outside. This will also prevent damage to your belongings.
Group Similar Items: As you remove items, categorize them. Group tools together, gather all pots in one area, and sort through seasonal decorations or outdoor equipment. This will make the next steps much easier.
Deep Cleaning Your Shed:
Once your shed is empty, take the opportunity to clean it thoroughly. Sweep out dirt and debris, remove cobwebs, and wipe down any surfaces. If your shed has windows, clean them to let in more light. Check for signs of mold, rust, or pests, and address any issues before you move forward.
Pro Tip:
If you notice structural issues, such as a sagging shelf or a broken latch, now is the time to make repairs. Fixing these problems before reorganizing will save you time and hassle later.
By the time you’ve completed this step, you’ll already feel a sense of accomplishment and be ready to tackle the rest of the decluttering process.




Step 1: Take Everything Out
Step 2: Assess and Declutter
Step 3: Create a Storage Plan
Step 4: Return Items Strategically
Step 5: Establish a Maintenance Routine
Final Thoughts
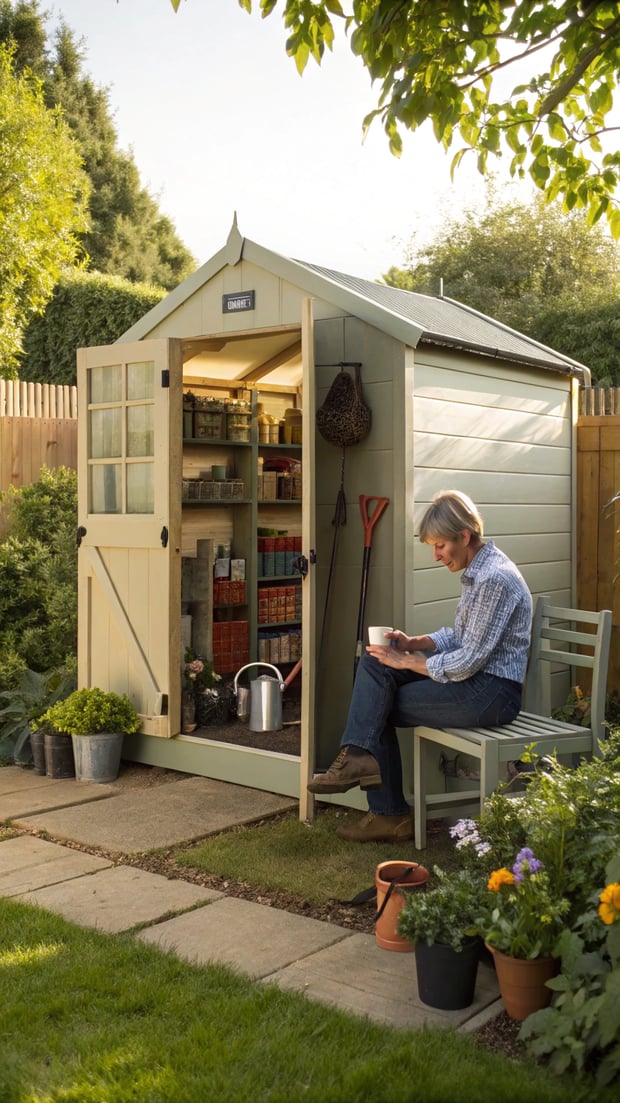

Decluttering your garden shed doesn’t have to be a daunting task. By following these five simple steps, you’ll transform your shed into an organized and efficient space that enhances your gardening and outdoor living experience. You’ll save time, reduce frustration, and rediscover the joy of working in a space that’s designed to support your needs.
The benefits of an organized shed extend beyond functionality. A tidy shed can inspire creativity and productivity, turning routine gardening tasks into enjoyable, stress-free activities. Imagine opening the door to a shed where every tool has its place, supplies are neatly arranged, and you can immediately find what you need.
Most importantly, an organized garden shed represents more than just a clean space—it reflects a mindset of intentional living. Taking the time to care for your outdoor space not only improves your gardening experience but also brings a sense of calm and control to your daily life.
So, roll up your sleeves, grab your gloves, and start this rewarding journey. Your tidy, efficient shed is just the beginning of a more organized and enjoyable outdoor lifestyle. Whether you’re a seasoned gardener or a weekend hobbyist, the benefits of decluttering and organizing your shed will serve you well for years to come. Your garden—and your peace of mind—will thank you!
