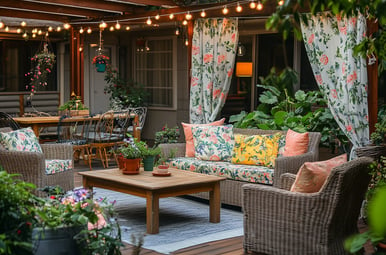
DIY Botanical Print Planters: A Step-by-Step Decoupage Tutorial
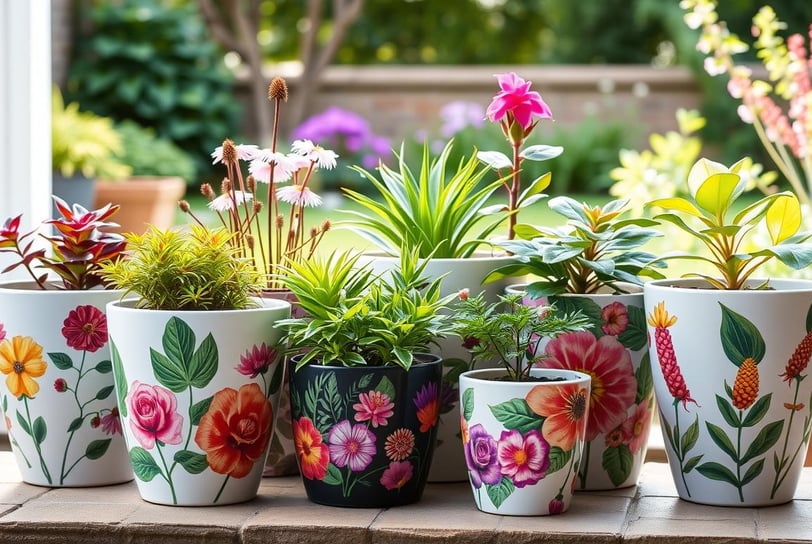
Transform plain planters into stunning works of art with this simple DIY tutorial! Using vintage botanical prints, decoupage techniques, and a little creativity, you can create gorgeous planters that bring timeless charm to your outdoor or indoor spaces. Perfect for gardens, patios, or balconies, this budget-friendly project is beginner-friendly and adds a personalized touch to your plant collection.
DIY PROJECTSDESIGN INSPIRATIONSEASONAL INSPIRATION

This post contains affiliate links. If you make a purchase through these links, we may earn a commission at no extra cost to you. This helps us continue to provide you with valuable content. Thank you for your support!
The content on this website was created with the help of AI.
Transform plain planters into stunning works of art with this simple DIY tutorial! Using vintage botanical prints, decoupage techniques, and a little creativity, you can create gorgeous planters that bring timeless charm to your outdoor or indoor spaces. Perfect for gardens, patios, or balconies, this budget-friendly project is beginner-friendly and adds a personalized touch to your plant collection.
Materials Needed
DIY Botanical Print Planters: A Step-by-Step Decoupage Tutorial
Start with a clean, dry pot. If you're using terracotta or ceramic pots, wash off any dust and let them fully dry.
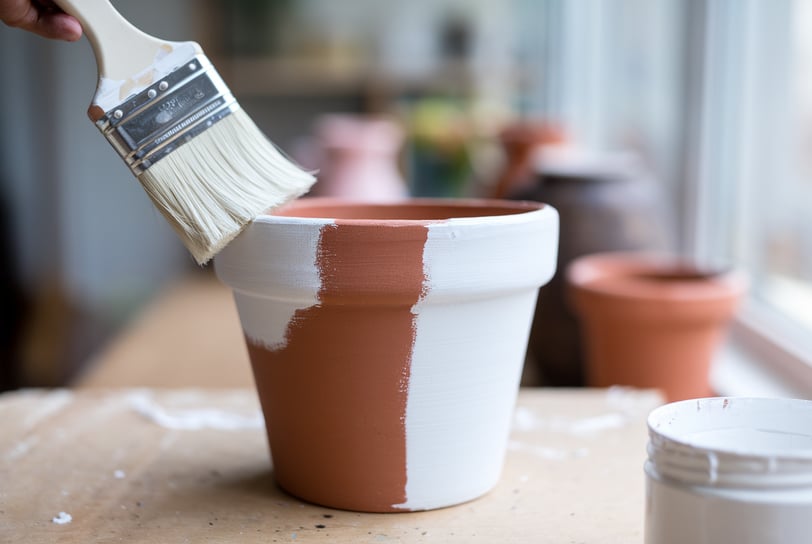
For a more vibrant finish, apply 1-2 coats of white or light-colored acrylic paint to the pot. This will make the botanical designs stand out.
Let the paint dry completely before moving to the next step.
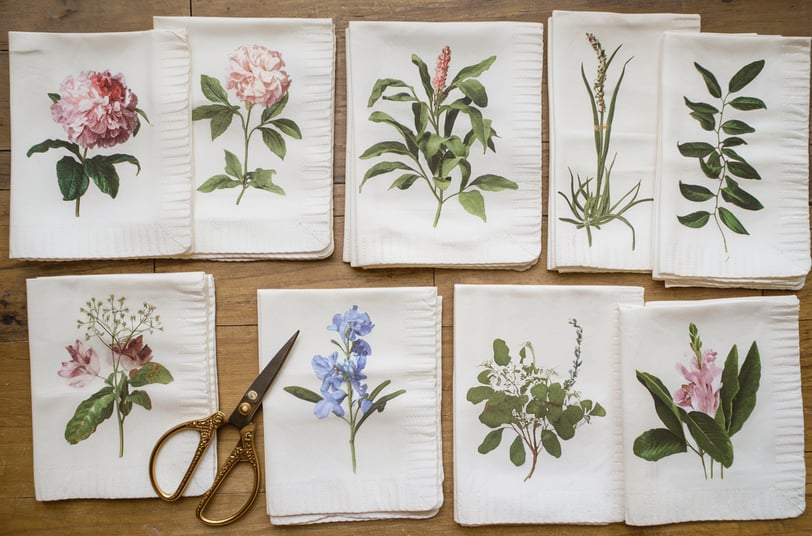
Choose your favorite vintage botanical prints. You can use decorative napkins, printed paper designs, or fabric. For a cohesive look, opt for prints with similar colors or themes (like florals or greenery).
If you're using napkins, separate the top printed layer from the plain layers. Only the top thin layer will be used.
Carefully cut out the desired floral or botanical elements using scissors. You can mix and match designs to create a collage effect.
Step 3: Apply the Prints with Mod Podge
Step 5: Style Your Botanical Print Planters
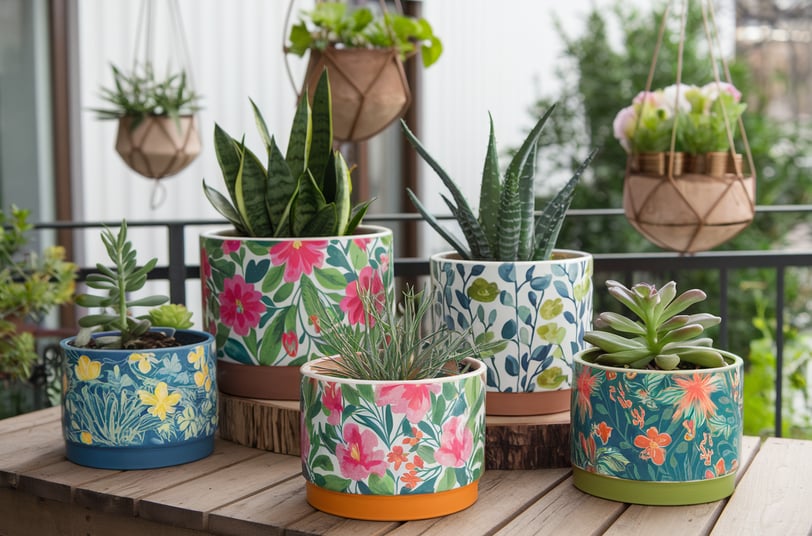
Your botanical planters are now ready! Add your favorite plants, like succulents, herbs, or colorful flowers, and display them in your outdoor living area, balcony, or garden.
Step 2: Select and Prepare the Botanical Prints

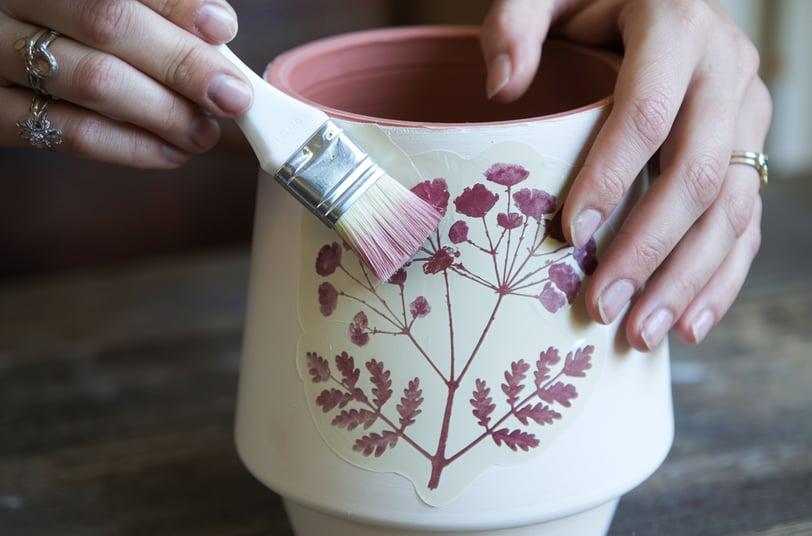
Apply a thin layer of Mod Podge to the area of the pot where you'd like to place the print.
Gently place your cut-out print onto the Mod Podge area. Smooth it down carefully with your fingers or a sponge brush to avoid wrinkles or air bubbles.
Once the print is in place, apply another thin layer of Mod Podge over the top of the print to seal it. Work gently to avoid tearing the print.
Repeat this process for all your cut-outs, arranging them creatively around the pot.
Pro Tip: Overlap some prints for a more layered, natural look!
Step 4: Seal and Finish
Let the pot dry completely (this can take 2-3 hours).
Once dry, apply an additional coat of Mod Podge over the entire surface of the pot to seal the design and add a protective layer.
If you plan to keep the pot outdoors, consider spraying a clear sealant over the pot for added durability against moisture and weather.
Let everything cure fully before using (24 hours is ideal).
Why You'll Love This Project
Budget-friendly: Use inexpensive materials for a high-end look.
Customizable: Choose any prints that match your style or season.
Perfect for gifts: These personalized planters make thoughtful handmade presents.
Get creative and share your finished botanical print planters with us!

Step 1: Prepare Your Planter


Transform your outdoor space with these inspiring ideas! From patio furniture makeovers to DIY planter projects, our guide on 10 Creative Ways to Incorporate Botanical Prints into Your Outdoor Living Decor will show you how to create a vibrant and stylish outdoor retreat. Explore easy, budget-friendly tips to make your outdoor living area bloom with personality.
Discover 10 unique and creative ways to bring botanical prints into your outdoor decor!
To get started, you'll need the following materials:
Terracotta, ceramic, or plastic pots (clean and dry)
Mod Podge (matte or glossy finish depending on your preference)
Paintbrush (small and medium sizes)
Scissors (for cutting intricate designs)
Vintage botanical print designs (fabric, napkins, or printed paper designs)
White or light-colored acrylic paint (optional, as a base coat)
Sponge brush (optional for a smooth finish)
Sealant spray (optional, for extra durability outdoors)

